India (English)
 Middle East and Africa (English)
 South Africa (English)
 Australia (English)
 Japan (日本語)
 South East Asia (English)
 Singapore (English)
 Europe (English)
 United Kingdom (English)
 Argentina (Español)
 Brazil (Portuguese)
 Colombia (Español)
 Latin America (Español)
 México (Español)
 Chile (Español)
 Peru (Español)
 Canada (English)

We’ve finally closed the book on what seemed like a never-ending winter. Good. Riddance. With warm weather consistently filling the 10-day, it’s officially the season of activity, both professionally and socially, meaning it’s time to pay extra attention to how you’re presenting yourself.
This year, allow us to suggest another element to your grooming routine: cutting your own hair. That’s right. Cutting your own hair isn’t as hard as you think, and it’s extremely convenient, allowing you to clean up your locks whenever you need.
Ready to get started? Good. This is how to do it.
Tools
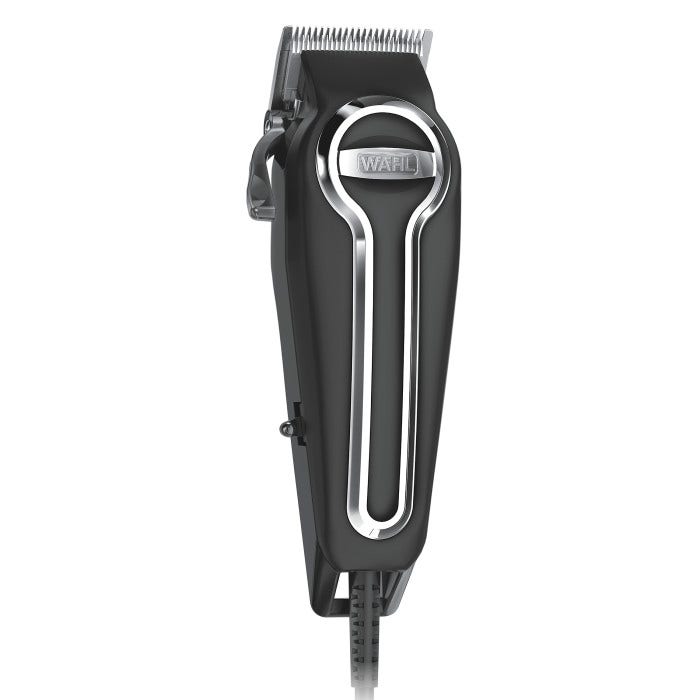
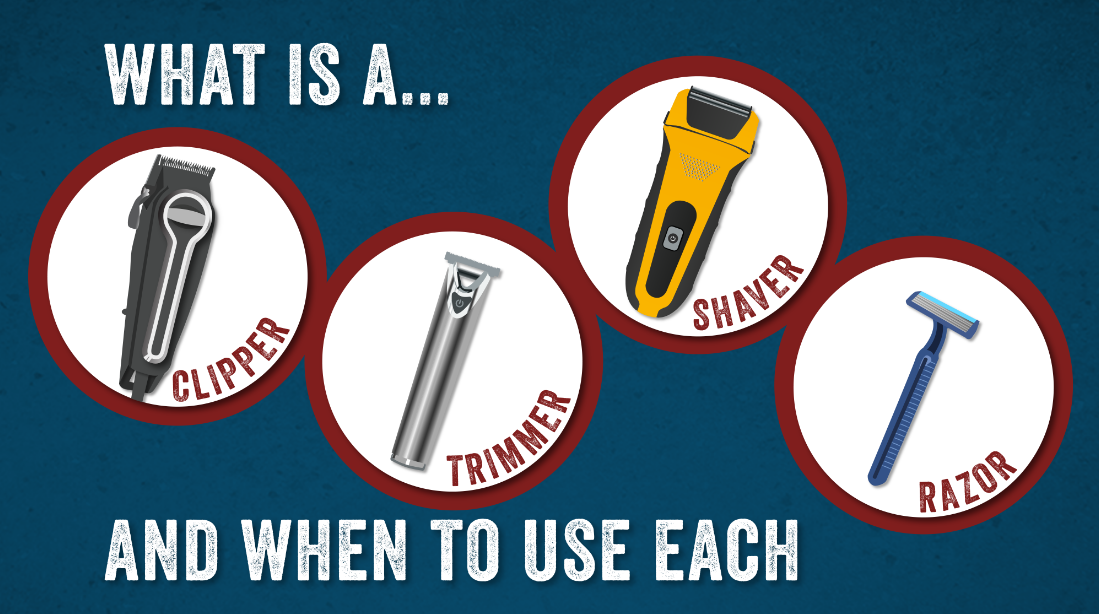
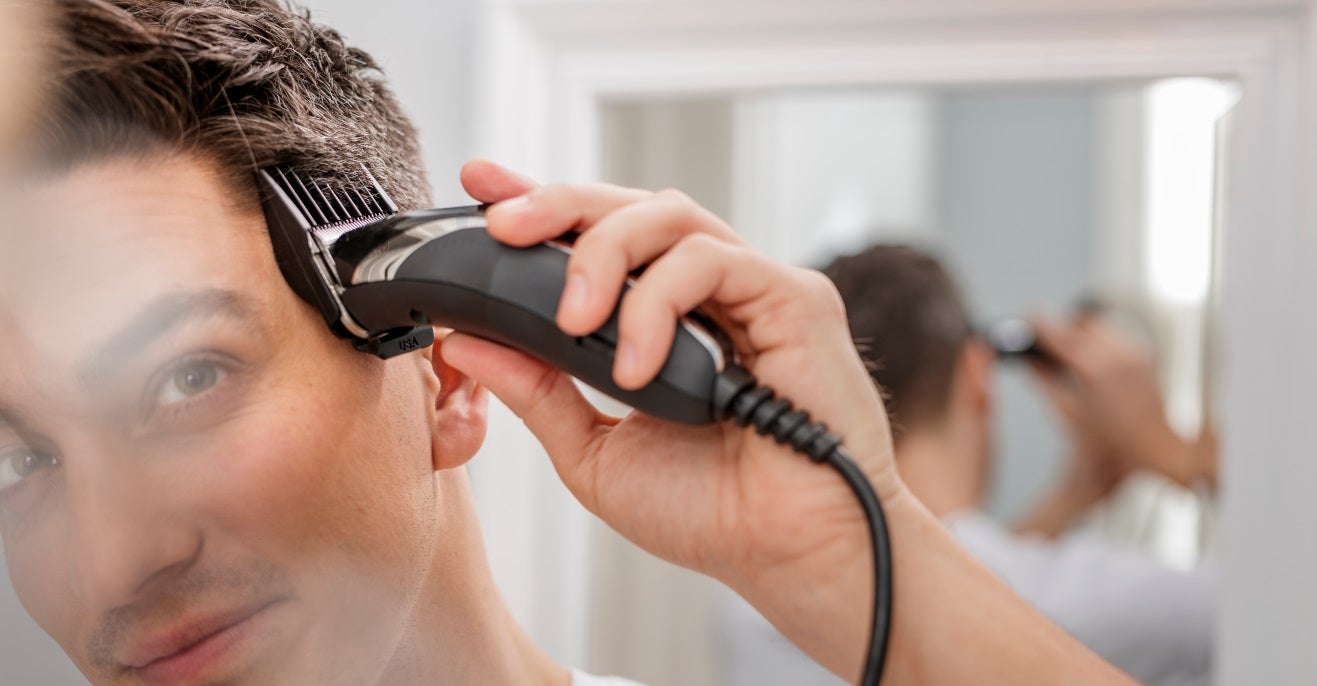
Let’s tackle the most important thing first. This isn’t the time for the scissors you use to slice taped packages or to cut open packs of boneless, skinless chicken breast. The Wahl Elite Pro Clipper is made to cut your hair. That’s what it does. If you’re serious about doing this, turn to Wahl.
The Wahl Elite Pro is the most powerful corded clipper in the Wahl catalog, offering power and precision, so you can approach your noggin confidently—which is really the only way you want to approach it. The self-sharpening blades not only stay sharper longer, but they cut hair 40% faster, which plays into that whole “convenience” thing you’re going for. All this, combined with a cool retro look, the Wahl Elite Pro Clipper has power, dependability and smarts in spades.
The Right Cut
While you know the haircut that works best for you, for this guide, we’re covering the one cut we think works best for most guys. A fade cut is your classic tight on the sides with a little extra up top. It’s approachable, easy to clean up, and works well for most. While that’s our focus here, the Wahl Elite Pro Clipper is equally suited for other cuts, so don’t rule out your bread and butter. If you don’t know which that is, we think the fade cut will suit you well.
Prep Your Hair
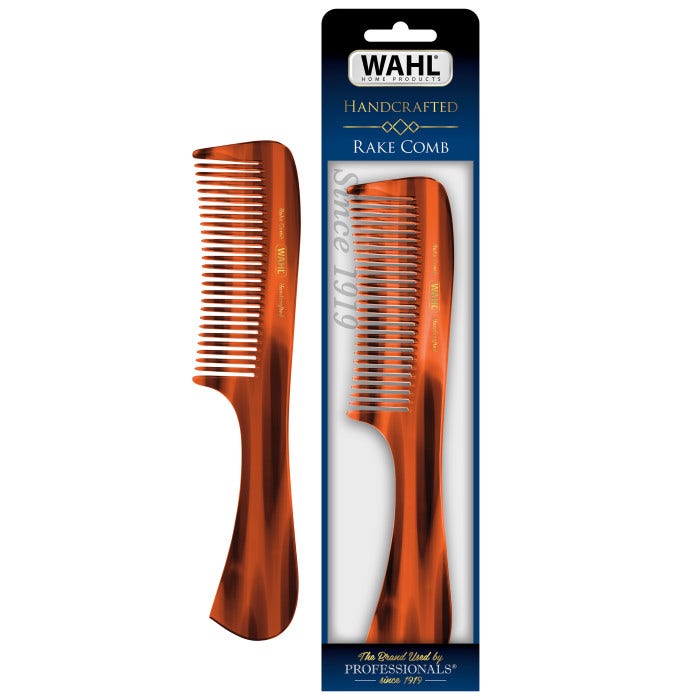
Run a comb (included in the clipper kit) through your hair to remove any tangles. Next slap a #2 attachment guard onto your clippers and make sure the taper lever is in the up position. Now, you’re ready to rock—literally.
Rock the Clippers Around the Sides and Back
After you’ve flipped on your Wahl Elite Pro Clippers, start at the hairline on the side of your head and cut upwards toward the middle of your head, working your way around the rest of your head. You’ll want to use a rocking motion to help with blending. This involves arching the clippers away from your head as you cut in an upwards direction. Make sure to use fluid motions, which prevent a jagged, uneven blend.
It also helps to pull down on the tops of your ears when you’re working near them so as to not miss any spots and leave patches of longer hair around the sides. We haven’t met anyone who likes the patches-of-uncut-hair look, so best not to try and kick off a trend.
Top of the Head
Once you’ve finished the sides and back, fasten the #4 attachment guard to your clippers and move on to the top of your head, where the hair will remain a bit longer. This time work from the front bang area and cut across the top of your head to the back. If you have a cowlick, remember to cut in the opposite direction of the growth.
The Devil’s In the Details
Know the difference between a good-looking home haircut and a bad one? The details. Remove any attachments and push the taper lever to the close cut position to clean up sideburns, your neckline, and the area around your ears. The trick here is something Wahl calls the “inverted clipper technique,” which involves flipping the clippers over so the top of the clipper is facing your head. This provides a little more agility and precision. Also, think of it like using a facial hair trimmer, meaning you want to touch the skin but not push too hard and irritate it.
The Wahl Elite Pro Clipper Kit also includes shears so you can tidy up the look, snipping the sections that need a little extra attention. You can definitely do the whole thing with clippers, but the shears are a good finishing touch for those few hairs that never seem to cooperate.
Care for Your Clippers
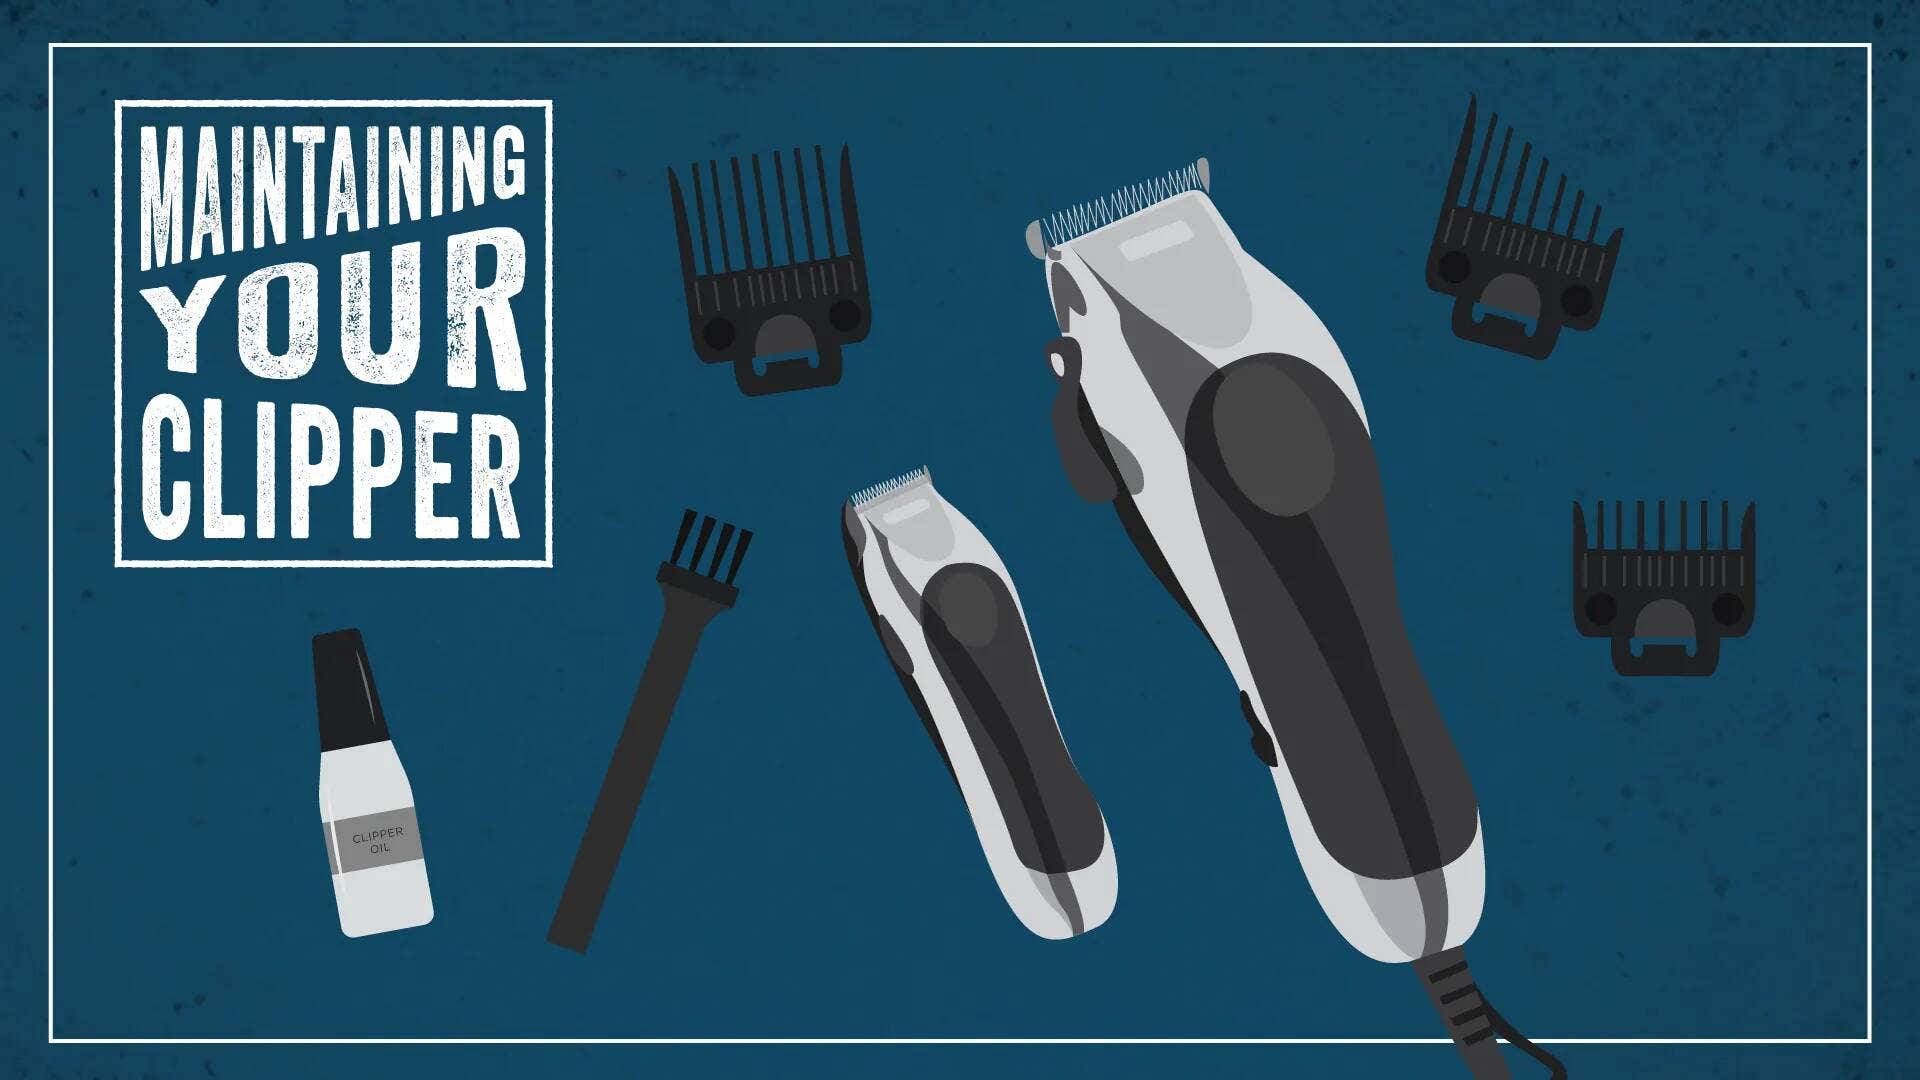
With your first home haircut in the books, we have a feeling you’ll go all in on the DIY bandwagon. That’s good because your Wahl Elite Pro Clippers will last you a long, long time—but that doesn’t mean a little TLC isn’t called for. Remember to oil the blades occasionally to prevent them from snagging your hair and from rusting. A couple drops are all that’s necessary. Place one on each corner of the top of the blade, along with a drop at the foot and turn on the clippers to work the oil in.
Now all you need is a red, white, and blue pole to put outside your bathroom.
Posted by CoolMaterial.com
Original Article can be found at http://coolmaterial.com/feature/the-complete-guide-to-cutting-your-own-hair/
Original Publish date 5/15/2018