The famous Mullet haircut: all business in front and “Party on, Garth” in the back. Popular in the 1980s, and worn by Vikings, Romans and Native Americans. Back during the pandemic due to its ease of home styling – and ability to make it look cool. So, make the Mullet your own!
How to Style a Mullet Step-by-step
1. Let it Grow
Most hair grows on average of ½ inch every month. So, depending on your hair type – ensure you start with a good three to four months of hair growth. (Up to six months if you’re starting from a fade.) When you’re ready to get rolling on your cut, wash or wet your hair with a spray bottle and comb it down to remove tangles and curls.
2. Create Sections
Even if you’re going for a shaggy Mullet, ensure you section off the back of your hair from the sides. To determine the back of the hair, find the point just behind the ears on both sides, and extend vertically. Also, section off the top of the hair from the sides and back. Use hair clips, if necessary.
3. Start with the Sides
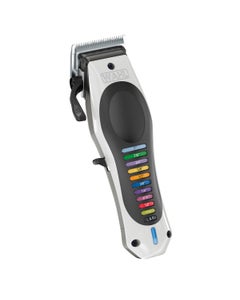
Cut the sides of your hair using your Wahl clipper with a #4 guard. To create a fade that extends back, use a #2 guard in front of the ears, then a #3 guard, followed by a #4 guard as you get closer to the back of the sides of the head.
4. Chop the Top
Cut the top of your hair using the clipper over finger technique to your desired length. The top should be slightly shorter than the back of the hair. For a classier Mullet, keep the bangs longer so you can style them over the top.
5. Party in Back
Cut the back of your hair using the clipper-over-finger technique. Start at the crown of your head and work your way down. The length should be progressively longer as your work your way down.
6. Clean Up & Done
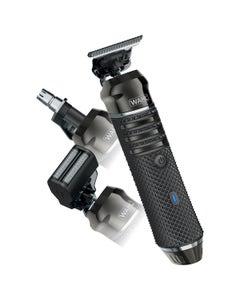
Finish by cleaning up around the ears and neckline using your Wahl trimmer.
As we mentioned above, most hair grows on average of ½ inch every month. So, depending on your hair type – ensure you start with a good three to four months of hair growth. (Up to six months if you’re starting from a fade.)
What is a Mullet Haircut vs a Modern Mullet?
Unlike the eighties and nineties Mullet, where there was a dramatic difference between the short top and sides and longer back, modern Mullets are more subtle and wearable for most men, especially if you’re blessed with thick, wavy or curly hair. The sides and front are longer so there is a less obvious contrast or graduation from short to long hair.
If you have shorter hair and want to perfect the mullet, you can also try a faded Mullet which gets shorter towards the bottom of the cut. The top of the hair is the longest – and the sides are still the shortest. The key to a modern Mullet, faded or not, is how you style it to make it your own (scroll to next question).
How do you Care for a Mullet?
Mullets can have more bounce (or swagger!) two to three days without washing. You can replace the daily hair wash with dry shampoo and use product to mold your mullet to look soft and wavy or bold and spiky. The key: don’t be afraid to experiment.
What is a Short Mullet Haircut?
You don’t have to have long hair to try a Mullet. The short Mullet may be for you. There is a simple fade between the longer hair on the top of your head and the shorter sides, with a hint of length towards the back “tail.”

 India (English)
 Middle East and Africa (English)
 South Africa (English)
 Australia (English)
 Japan (日本語)
 South East Asia (English)
 Singapore (English)
 Europe (English)
 United Kingdom (English)
 Argentina (Español)
 Brazil (Portuguese)
 Colombia (Español)
 Latin America (Español)
 México (Español)
 Chile (Español)
 Peru (Español)
 Canada (English)