India (English)
 Middle East and Africa (English)
 South Africa (English)
 Australia (English)
 Japan (日本語)
 South East Asia (English)
 Singapore (English)
 Europe (English)
 United Kingdom (English)
 Argentina (Español)
 Brazil (Portuguese)
 Colombia (Español)
 Latin America (Español)
 México (Español)
 Chile (Español)
 Peru (Español)
 Canada (English)

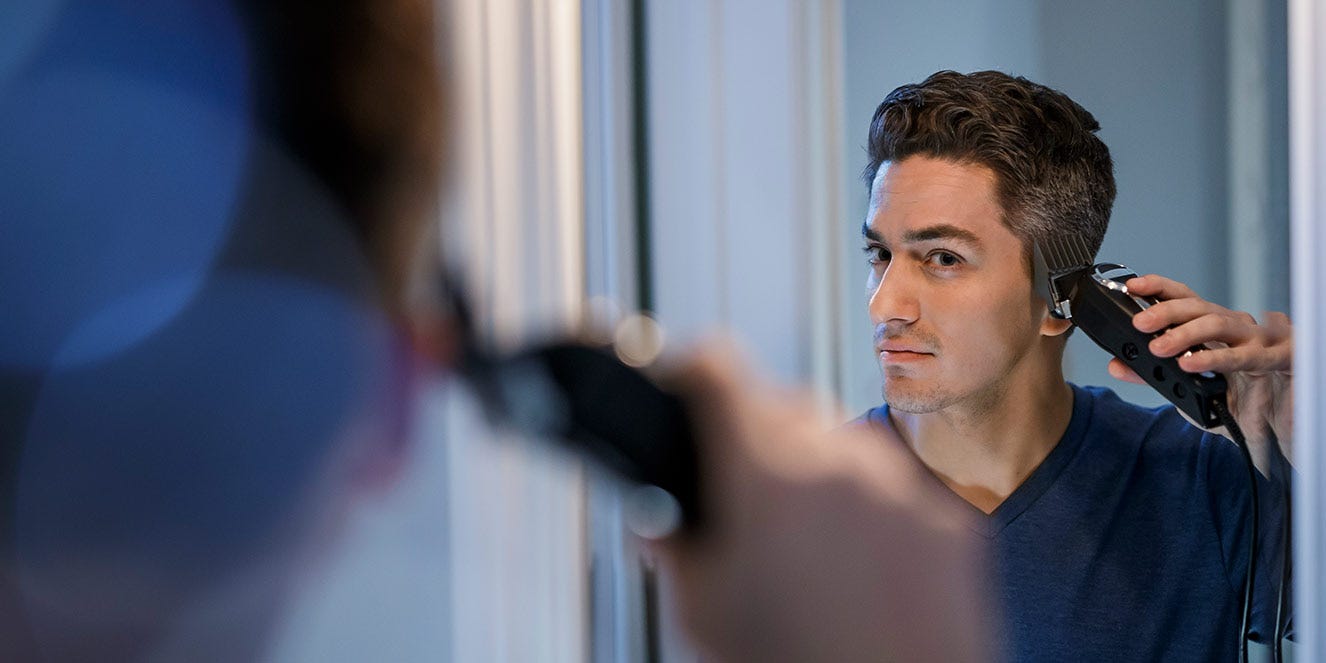
While taking the clippers into your own hands for your first DIY haircut is empowering, the terminology and wealth of choices can be overwhelming. Fear not, with a little bit of prep work you can give yourself the right haircut for your face shape.
Before you buzz away though, make sure you have the right tools:
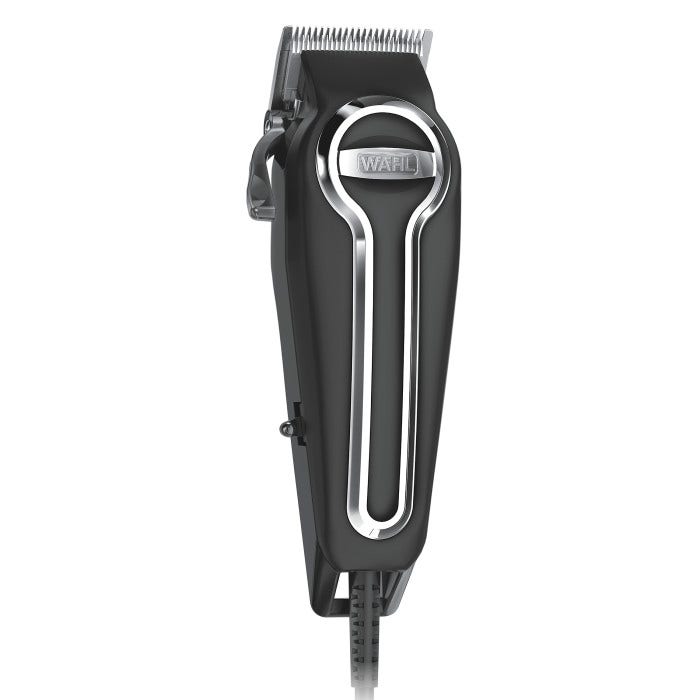
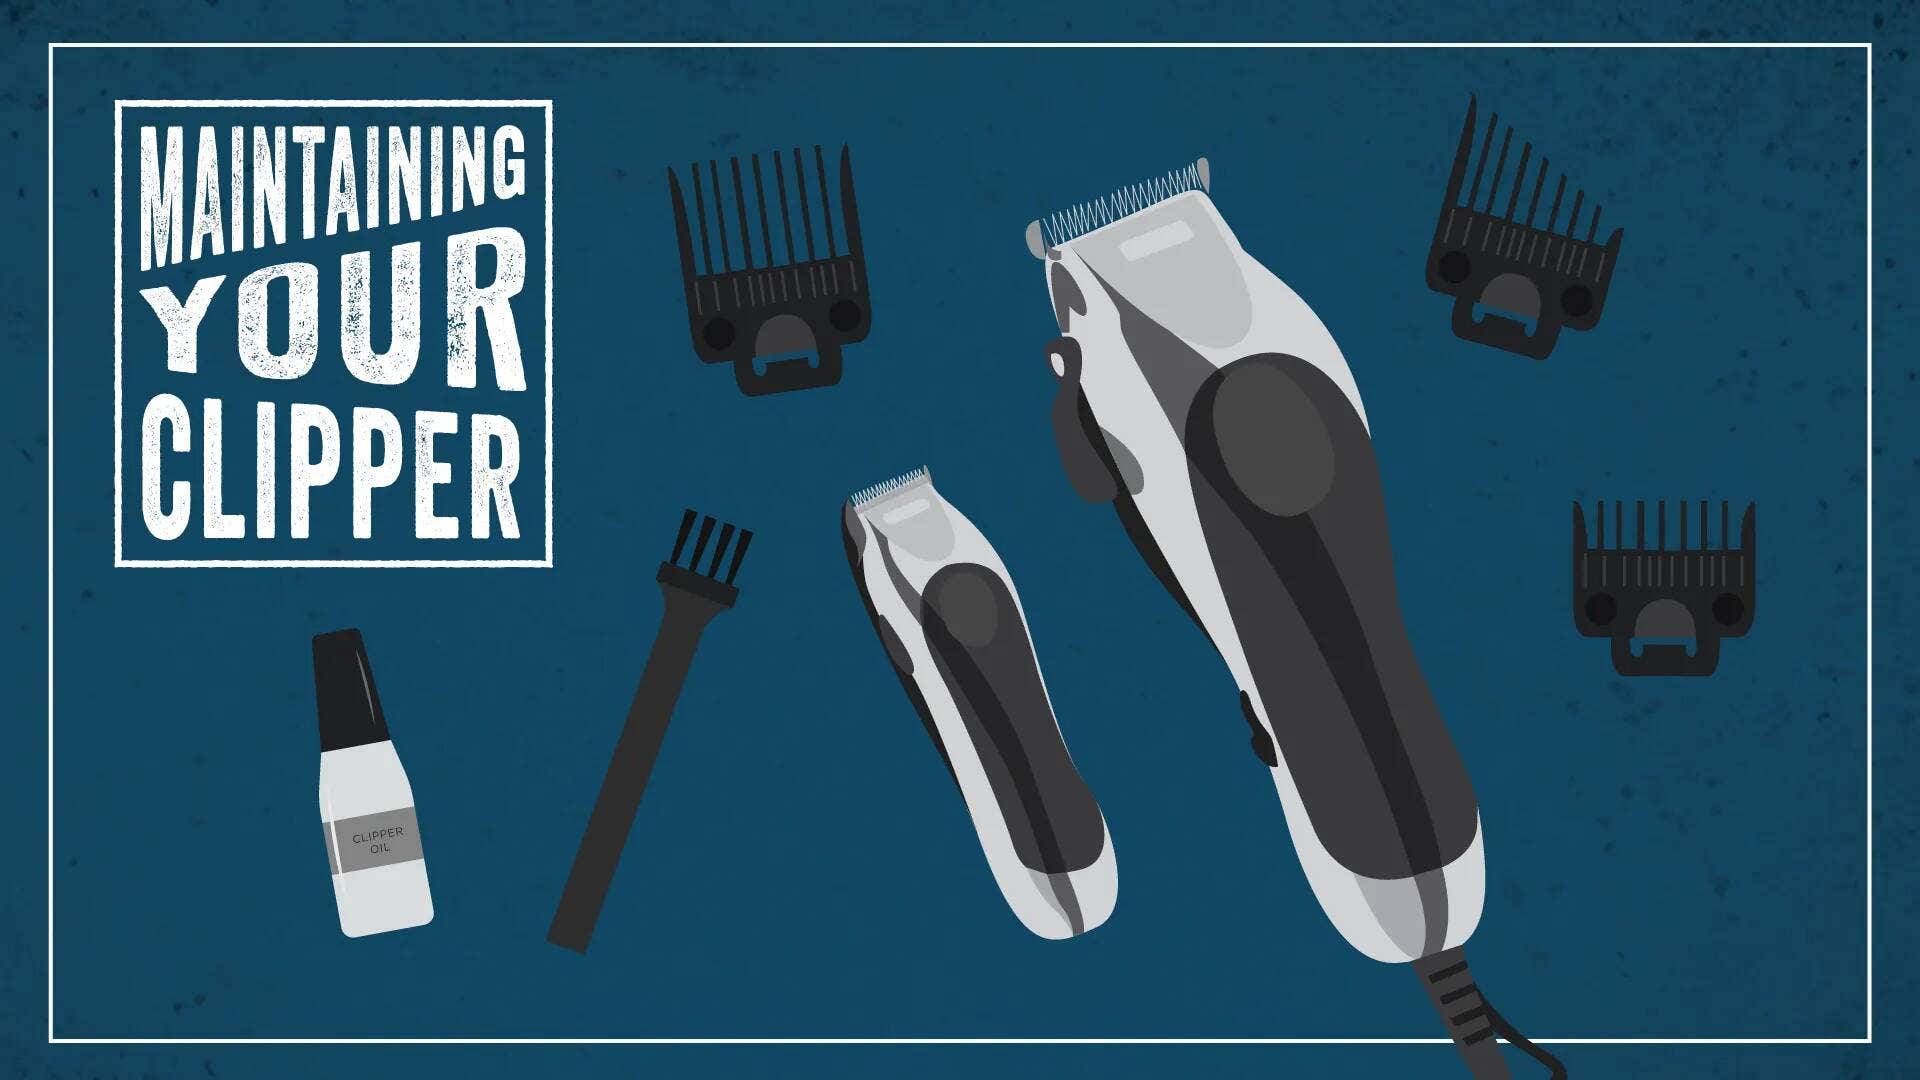
- Get a quality clipper with multiple attachment guards like the Wahl Elite Pro, a regular comb, and a spray bottle with water.
- Wear a large shirt or go shirtless.
- To minimize post-haircut cleaning time, stand on newspapers to collect your hair. A Dustbuster will also help.
- You should also stand in front of a large mirror, have a smaller hand-held mirror on-hand, and be close to an outlet.
Now, find the direction in which your hair grows. Run your hand through your hair to find the counterforce. Once you know which way it grows, wet it, and comb in the direction it grows. Always cut in the opposite direction.
Know Your Shape
Increase the chances of success by picking a haircut that flatters your face shape. Here's how to figure out your face shape:
- First, hold back any facial hair with your hand.
- With your other hand, trace the outline of your head onto the mirror with soap.
- Stand back and admire: What you see is your face shape. You’re either round, square, oblong, oval, or triangle-shaped.
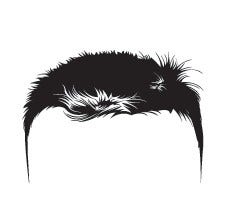
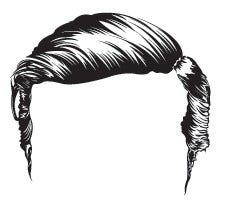
Got a round face? Your aim is to create angles and give your face dimension. Leave the sides shorter and the top longer. Pompadour cuts (think Elvis Presley) will create volume and movement on the top, and side parts are the way to go if you’re shooting for something mature.
If your face is square, you’ve been blessed with a strong jawline. Good for you! Your haircut should accentuate this, so keep the sideburns short and have your hair sit above the ears.
If your face is narrow and long (oblong), avoid shortening your sides too much. Instead, add width. Another trick is to avoid long beards. Cuts with a side part are also your friends.
Oval faces can get away with pretty much anything. The only thing to lookout for is long bangs, as they may cover your forehead and make your face look round.
A triangular face means you have a narrow forehead. You’ll want to embrace volume on top of your head. Curly tops, pompadours or even quiffs (brushed upward and backward from the forehead) are good choices.
Time Savers
The following two cuts are ideal if you don’t want to spend much time with your hair:
An Easy Cut
Pick this one if you have an oval-shaped face. For this one, you'll warm up at the sides and back of your head, and finish with the top.
- Start with the hair closer to the neck. Use a #6 or #8 attachment guard, and start with upward strokes along the sides and back of your head. The secret is to relax and keep your movements as smooth as possible.
- Once you’ve covered the sides and back, you’re ready to move onto phase two: the top of your head. Start cutting from the front of your head towards the back. If you see uneven spots, just glide the clipper over that part again, until you see a smooth finish. You’ve given yourself your first haircut.
A Buzz Cut
This is your cut if you have a square or an oval-shaped face. This cut requires exactly the same steps as the Easy Cut, except you will use a shorter attachment guard for a shorter length. Depending on how close to your head you want this buzz, try out attachment guards #1 through #4, starting with #4. You can always cut shorter, but you’re out of luck if you go too short.
Get Personal
The following two cuts work if you like your hair a little longer. Both use the same technique, except one has a disheveled vibe while the other’s more polished and classic.
A Tousled Cut
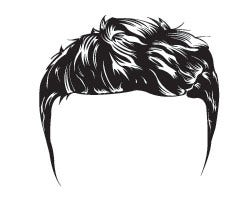
This cut is ideal for triangle and oval-shaped faces. If you like your hair a little longer but want to avoid tons of upkeep, this is for you.
- Start with a shorter attachment guard (#3), and glide the clippers upwards along the sides of your head. After you have achieved an even length on the sides and back, you can rebel and take the attachment guard off the clippers.
- Raise single hair strands from the top of your head with your fingers, then glide the clippers over the ends. This is one of the few instances where you don’t necessarily need to cut against the direction of growth. For a disheveled look, angle the clippers into your hair occasionally.
- Once you get a top length you like, grab a medium attachment guard (#5) to blend the shorter sides into the longer top, using an upward motion.
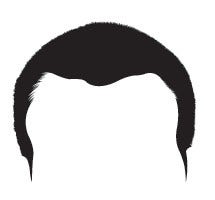
Side Part
Oblong and oval-shaped faces will benefit the most from this cut. The aim here is to cut the sides short and clean, and leave the top bangs longer, so you can comb them back.
- Like the tousled cut, the side part cut requires a shorter attachment guard (#3 or #4) for the sides and back of your head.
- Then, use a longer attachment guard (#8) on top.
- Experiment with the stiffness of your bangs when you sweep them back. More product will pull them back more, less will make them more relaxed.
More DIY Pointers
Once you finish, you should check around your ears and neck. Use the small hand-held mirror for this. You can clean around the ears with special ear combs or use an inverted clipper technique for sharp hair frames. To get a sharp line at the back of your neck and an even cut all around, you should also use the inverted clipper technique. The key here is to go slow.
Happy DIY cutting!
Posted by Gizmodo.com