How to Shave with an Electric Shaver
Once you start using a Wahl shaver, the odds are that you’ll never return to a manual shaver. While the technique is easy to master, there are some shaving tips to keep in mind.
How to Shave with an Electric Shaver Step-by-Step
-
1
When you switch from a manual razor to a powered shaver, it may take 2 or more weeks for your skin to adjust and feel like you’re getting a close shave.
-
2
When you open your Wahl shaver package, charge your shaver for at least 1 hour before the first shave. After you charge and use your Wahl shaver for the first time, it can be used after only a 1-minute quick charge for a future quick shave.
-
3
Thoroughly cleanse and completely dry your skin prior to shaving. Depending on your preference or skin sensitivity level, you can choose to shave your dry face, or wet your face and use a shaving cream or shaving gel. Most Wahl shavers are versatile wet/dry shavers.
-
4
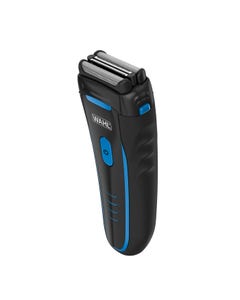
For maximum speed and efficiency, hold the shaver so that both foils are in contact with your skin. When shaving the upper lip or neck, hold the shaver so that the uppermost screen is in contact with your skin.
-
5
Don’t press foil heads hard against your face. Heavy scrubbing action with the shaver could damage the foil and will not result in a closer shave. This can also irritate your skin.
-
6
The best way to shave with a Wahl electric shaver is to primarily shave against the grain of your beard. But also shave in the other direction (with the gain of your beard) for a thorough, close shave. Stretch your skin taut in the path of the shaver for a close shave.
-
7
Be sure to clean your shaver, cutter bars and foil after every 3 or 4 shaves. This expands your shaver's lifespan, gives you better shaving performance and also reduces skin irritation.
What to use
Need help deciding what you need?
Wahl shavers are engineered to provide a fast, clean and close shave, leaving your skin smooth and free of irritation.
Product SelectorMore Grooming Tips
Identify Your Natural Beardline

Start trimming just above the Adam’s apple.
Start from the Center and Towards the Ears

Work towards the ears to get a straight line.
Don't Cut from Ear to Ear
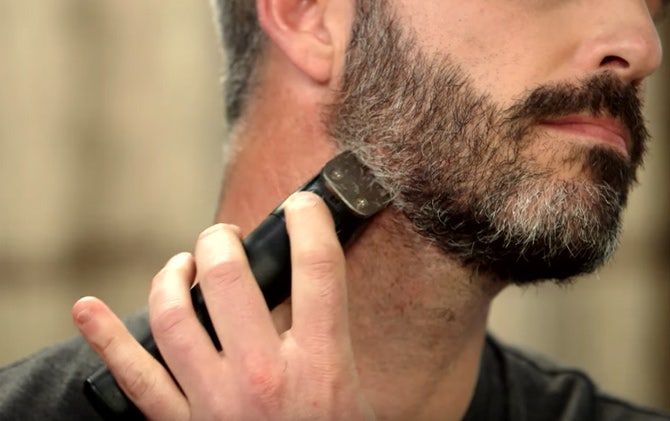
Don’t go ear to ear, which may lead to an uneven line.
Related Videos


 India (English)
 Middle East and Africa (English)
 South Africa (English)
 Australia (English)
 Japan (日本語)
 South East Asia (English)
 Singapore (English)
 Europe (English)
 France (French)
 Germany (German)
 Hungary (Hungarian)
 Italy (Italian)
 Poland (Polish)
 Portugal (Portuguese)
 Russia (Russian)
 Spain (Español)
 The Netherlands (Dutch)
 Turkey (Turkish)
 United Kingdom (English)
 Argentina (Español)
 Brazil (Portuguese)
 Colombia (Español)
 Latin America (Español)
 México (Español)
 Chile (Español)
 Peru (Español)
 Canada (English)


