India (English)
 Middle East and Africa (English)
 South Africa (English)
 Australia (English)
 Japan (日本語)
 South East Asia (English)
 Singapore (English)
 Europe (English)
 France (French)
 Germany (German)
 Hungary (Hungarian)
 Italy (Italian)
 Poland (Polish)
 Portugal (Portuguese)
 Russia (Russian)
 Spain (Español)
 The Netherlands (Dutch)
 Turkey (Turkish)
 United Kingdom (English)
 Argentina (Español)
 Brazil (Portuguese)
 Colombia (Español)
 Latin America (Español)
 México (Español)
 Chile (Español)
 Peru (Español)
 Canada (English)


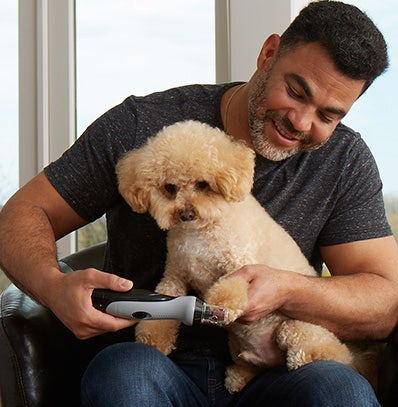
How to Trim Your Dog's Nails
Many dog owners are apprehensive about trimming their dog’s nails because they are nervous about cutting into the quick, resulting in dog nail bleeding. But with the right conditioning and careful cutting, pet nail clipping can be a simple, stress-free activity for you and your dog.
Dogs who do not spend plenty of time running around outdoors or wearing their nails down on hard surfaces will need to have their nails trimmed at least once a month. Smaller dogs who don’t get as much outside activity may need more often clipping. Long nails can become ingrown or snag as your dog walks.
What you need:
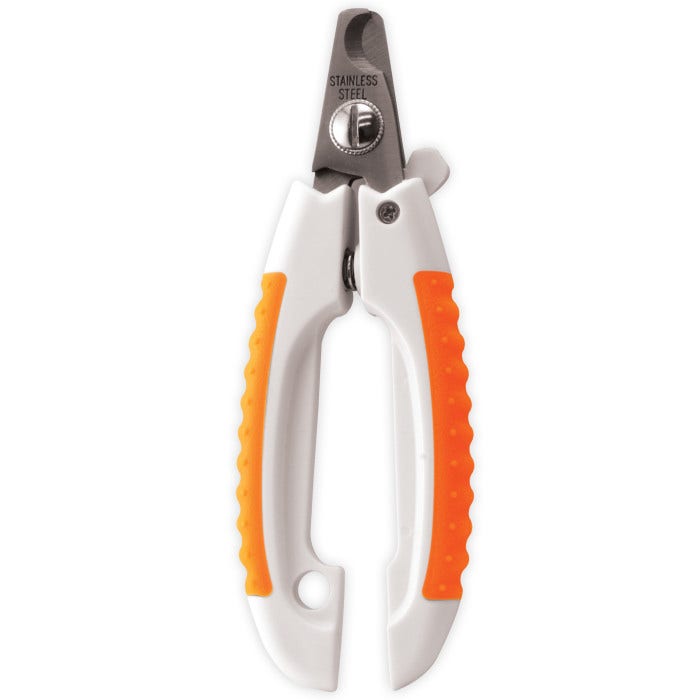
- Dog nail clippers
- Emery board or file
- Dog treats
- Styptic powder in case of bleeding
Dog Nail Trimming & Care Step-by-Step
-
1
Preparation:
It's best to calm your dog before trying to trim their nails. A great way to do this is take them for a walk before a nail trimming session.
Provide your dog with plenty of positive reinforcement and praise as you begin to clip their nails. Offer your dog treats if they tolerate the process or if they demonstrate discomfort to help associate nail clipping with a positive experience. You can also practice nail clipping when your dog is a puppy to help prevent the nails from growing dangerously long. This also helps your pup become accustomed to having their paws touched without apprehension.
-
2
Clipping:
Start by spreading your dog’s feet to inspect for dirt and debris. Clean your dog's paws as best as possible before you begin cutting claws.
As you start to clip, gently press on your dog’s paws to help them become accustomed to the feeling of having their nails clipped.
Clip one nail, reward your dog with a treat, and stop to give him some positive reinforcement before moving on. Gradually increase the number of nails you clip in one sitting to help your dog get used to the process. work gradually, shaving small portions of your dog’s nails off each time.
-
3
Hold your dog in place by putting your arms and upper body over them while you clip nails. While clipping the front nails, hold your forearm over the dog’s neck to prevent them from lifting their head. If your dog remains anxious or jumpy, try laying them on their side and gently holding him down.
-
4
Using sharp dog nail clippers , cut off the tip of each nail at a slight angle, just before the point where it begins to curl. At the point where the nail starts to curl is where the quick is.
-
5
Take care to avoid the quick, which is the vein that runs into the nail. Trimming too close to the quick is similar to ripping off a human hangnail. It’s quite painful for the dog. If you accidentally cut into the quick, causing bleeding, apply some styptic powder to stop bleeding. Treating dog nail bleeding can be overwhelming, but you can treat the problem yourself.
-
6
If your dog growls, that might be their way of letting you know they are becoming uncomfortable. Stop and check to see if you’re coming close to the base of the nail. You can tell if you’re getting close to the quick by the texture of your dog’s nail. The nail is hard closer to the surface and becomes softer as you get closer to the quick. If your dog’s nail starts to feel softer, that’s a good indication that you’re getting close to the quick. Make sure to listen to your dog’s signals.
-
7
After all of your dog's nails have been cut, use an emery board or file to smooth out the edges. Then, give them another treat to associate nail clipping with a positive experience.
What to use
Need help deciding what you need?
Wahl has a full line of pet-grooming products that will let you handle brushing to bathing in the comfort of your own home.
Product SelectorMore Dog Grooming Tips
Calm Your Dog Before Grooming
Take dog for a short walk to calm them down and burn off extra energy. Take a few minutes to pet the dog to make sure he is not overly stressed or scared.
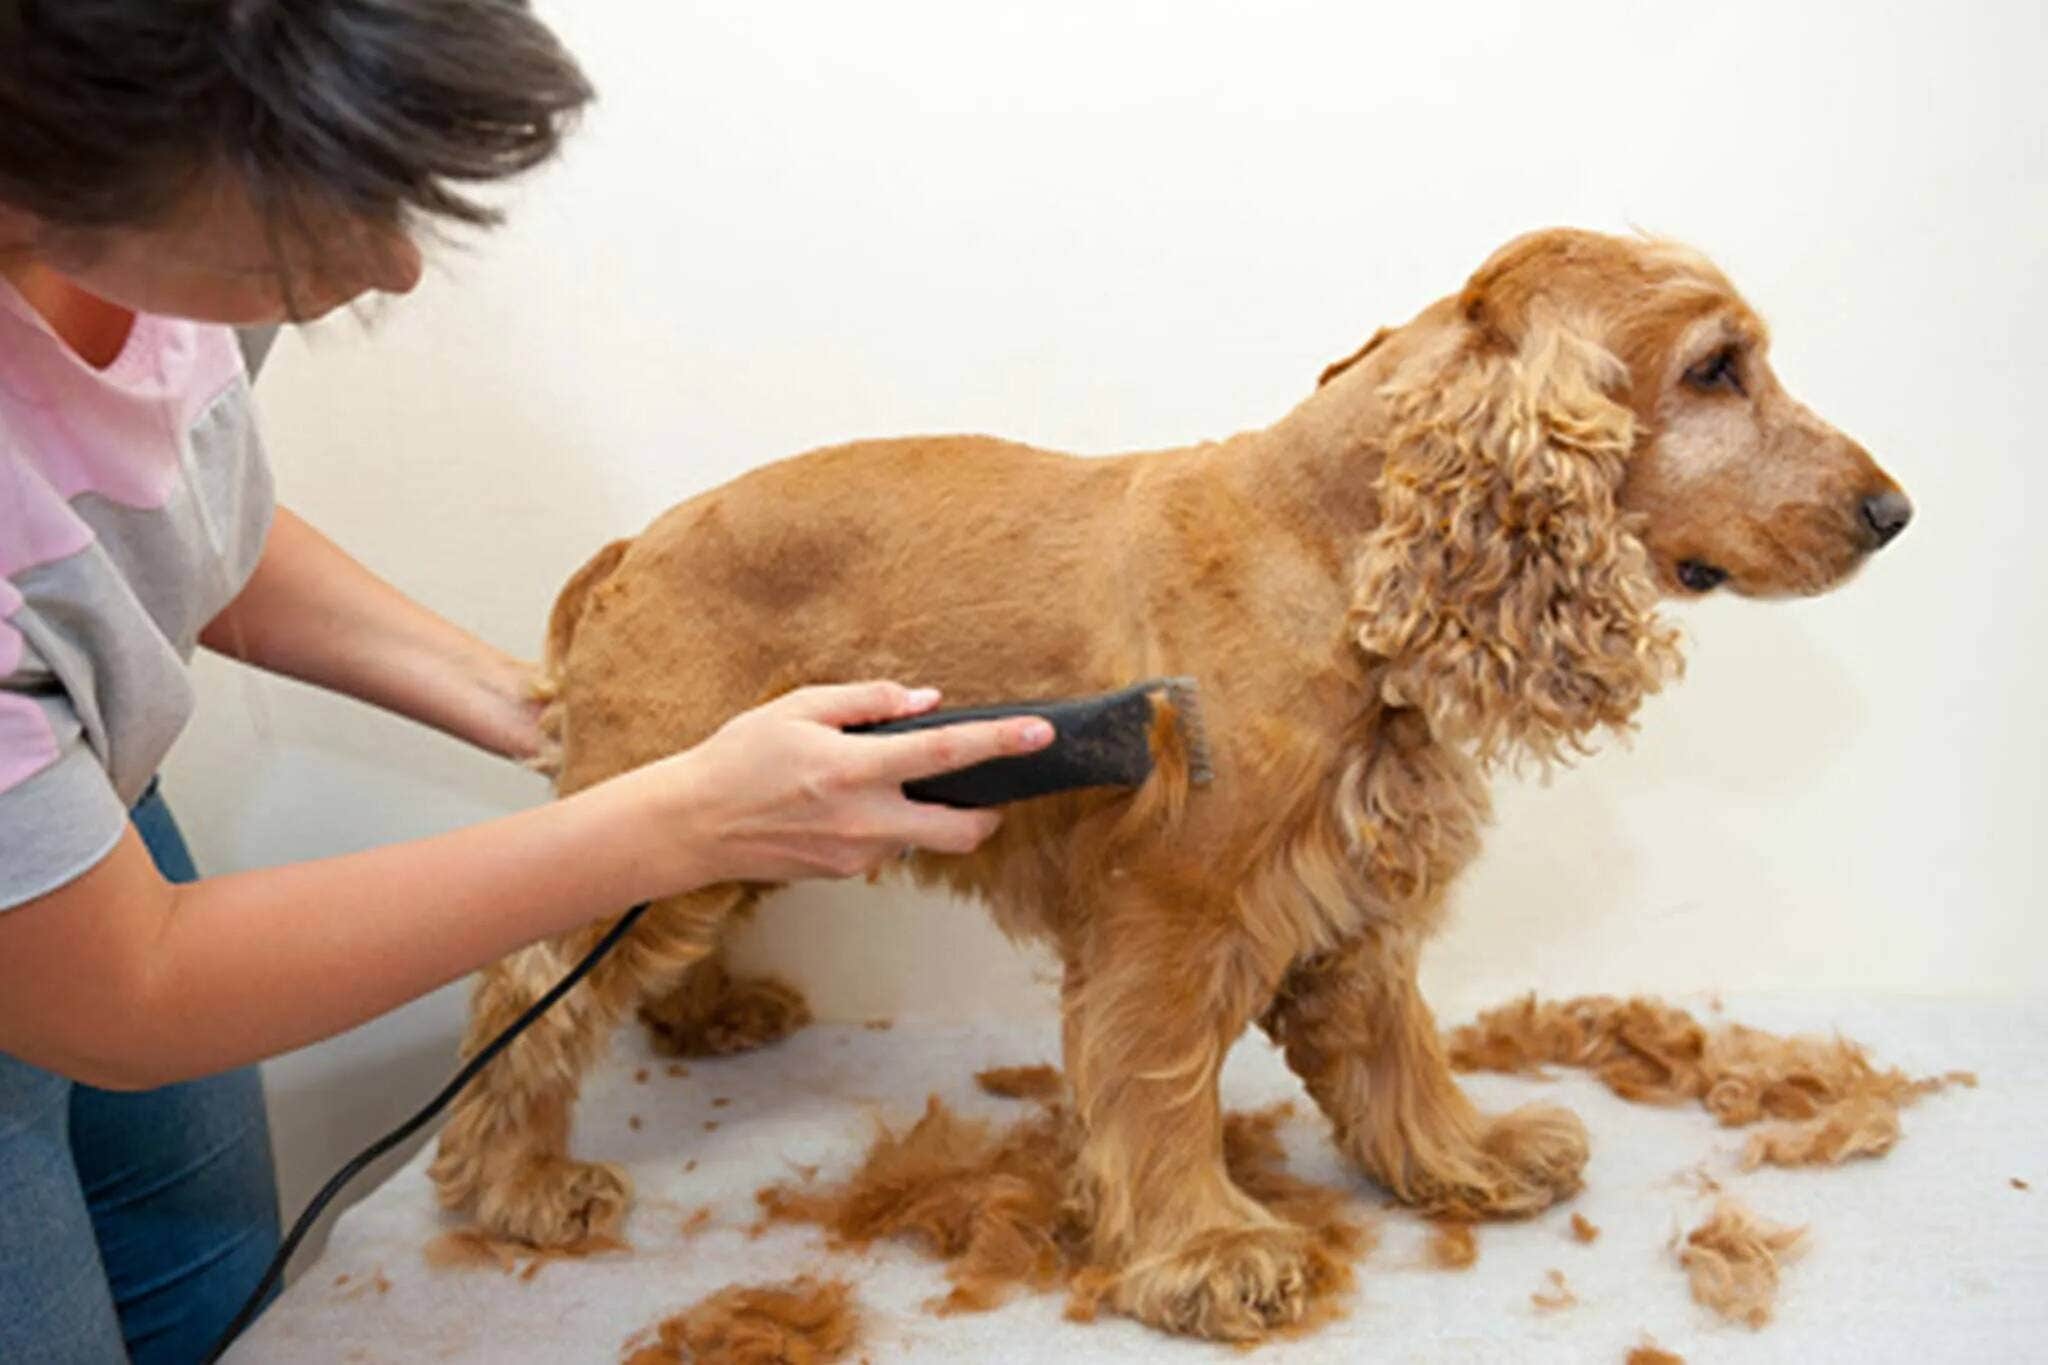
Brushing Regularly to Remove Tangles or Matting
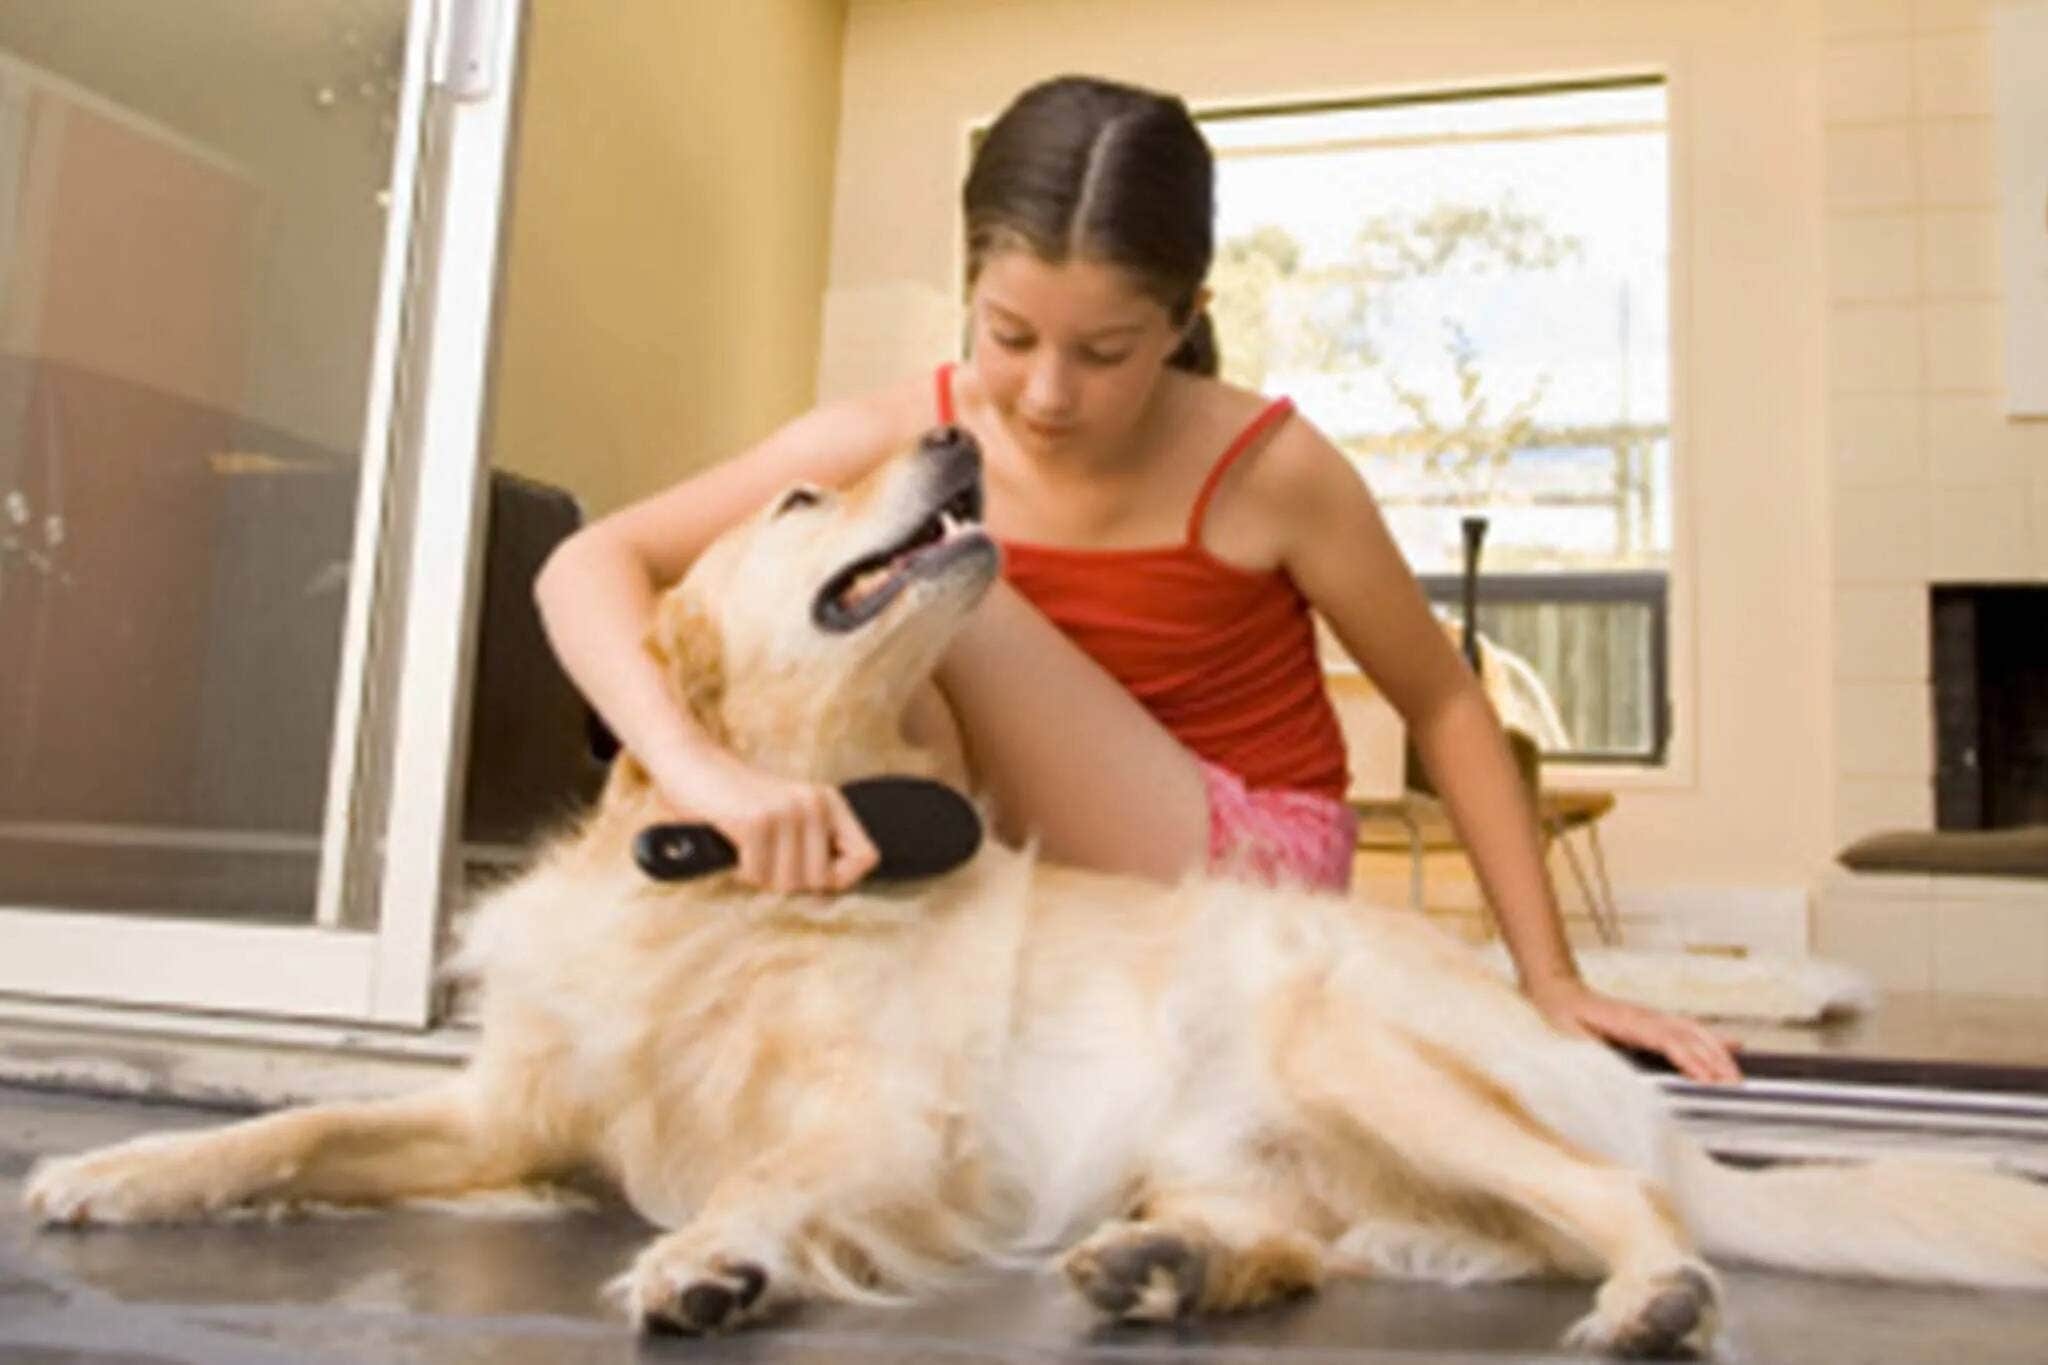
Thoroughly brush and/or comb to remove tangles and mats.
Leave Enough Hair for Protection
Clip as close to the body as desired, leaving at least a half-inch or more in order to maintain enough protection from the elements.
Related Videos